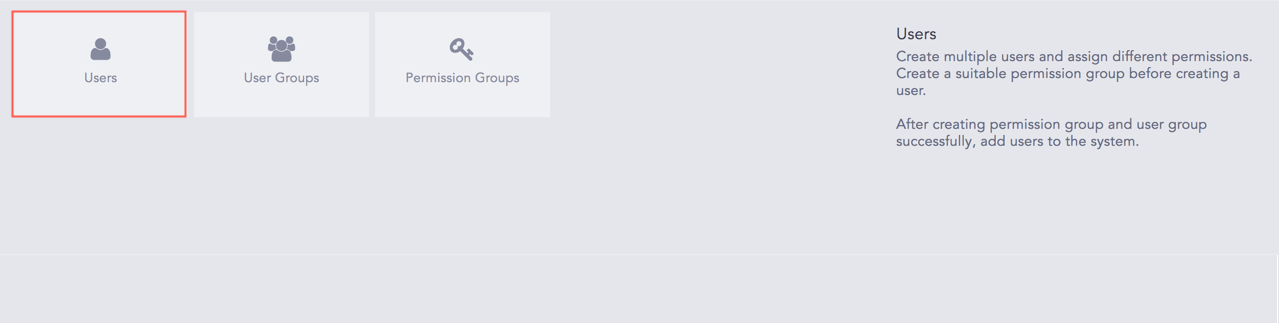
You can create multiple Users and assign different permissions to them. You need to create a user group and permission group before creating a user.
Users
Note
Refer to the User Groups section to create a user group and the Permission Groups section to create a permission group.
Go to Settings >> User Accounts >> Users.
Note
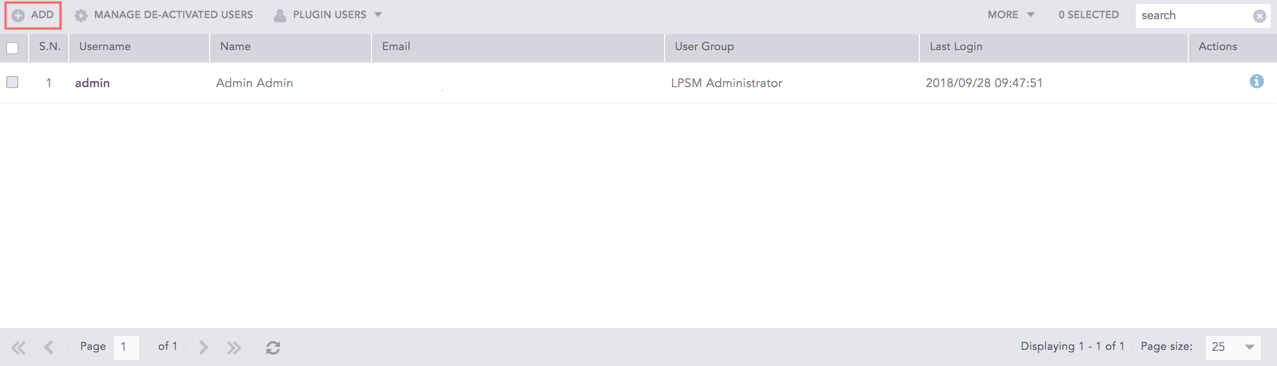
The admin user is a default, mandatory user and cannot be deleted.
After the patch upgrade, you must add an email address for the admin user, which is set to empty by default if the default email address was previously admin@logpoint.local.
Click Add.
Add a User
User Pop-up Panel
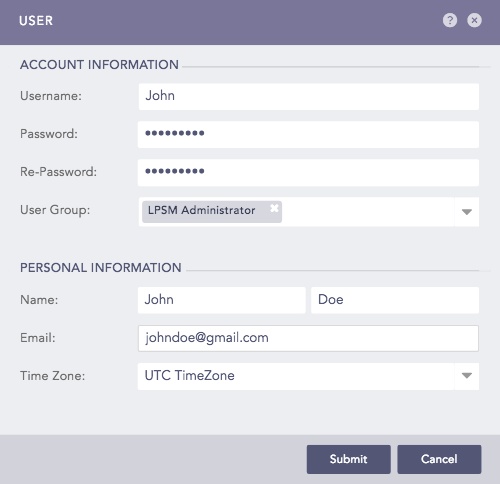
Enter the Username, Password, Re-Password and select a User Group for the user in the Account Information section.
Enter the Name, Email, and Time Zone of the user in the Personal Information section.
Click Submit.
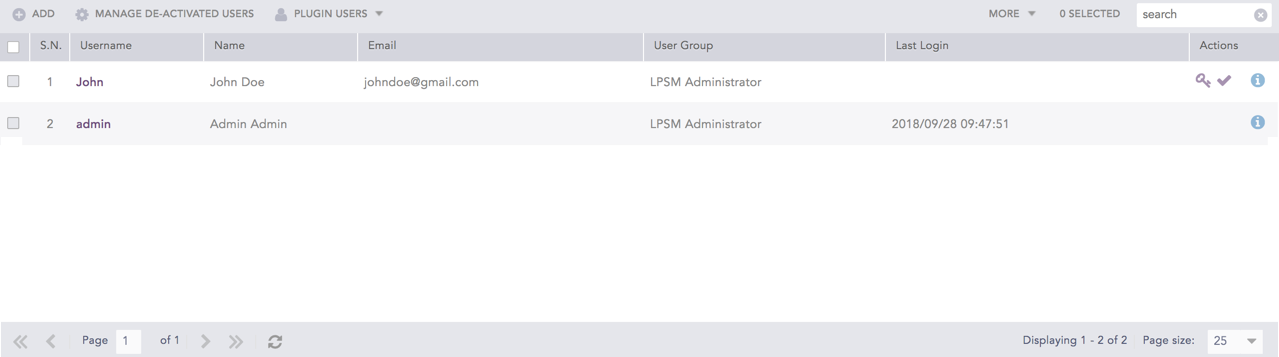
List of Users
Note
Users can see logs collected at different intervals as per the time zone they configure. If a user works in Denmark and wants to view the logs collected in Europe, they have to view logs collected in Europe in the Danish Time Zone.
Multiple User Groups can be mapped to a single user.
Click the Username of the user.
Click Submit after updating the information.
Note
Except the Username, all the other parameters can be edited.
You cannot directly delete an active user from the user list. Before you delete a user, make sure you deactivate it first. Deactivated users do not have permission to access the system.
To delete an existing user, deactivate the user by clicking the De-Activate User (![]() ) icon from the Actions column.
) icon from the Actions column.
Click Yes to deactivate the user. Enter your credentials to proceed.
Go to the Manage De-Activated Users page.
Click the Delete (![]() ) icon from Actions column to delete the user.
) icon from Actions column to delete the user.
Click Yes.
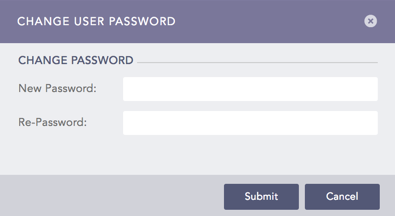
 ) icon from the Actions column to open the Change User Password pop-up panel.